DIY Toothbrush Bracelets [INSTRUCTIONS + PHOTOS!]
By Caroline Jacobson on October 25, 2016 in Kid's Health
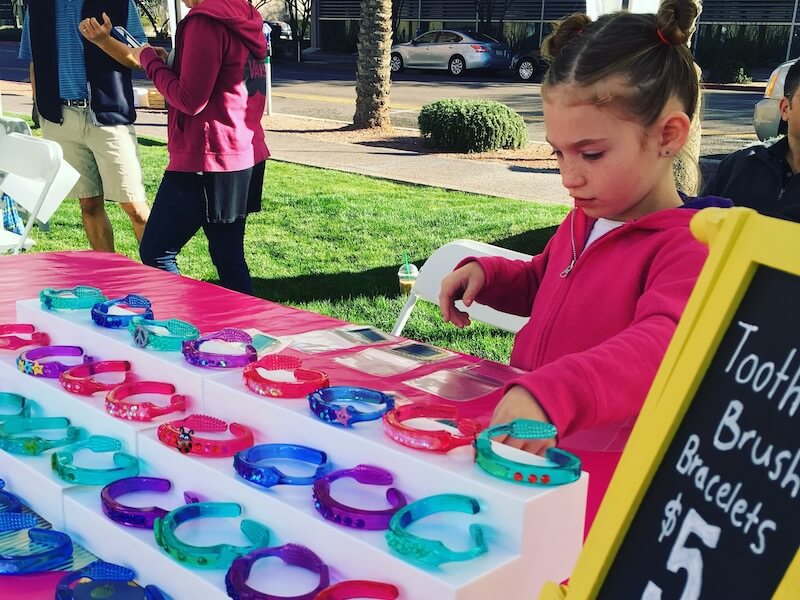
You should replace your toothbrush every 3 months. With this frequency, there's a good chance you have some old toothbrushes in your junk drawers. Try this fun DIY and follow the photos to make your very own toothbrush bracelet.
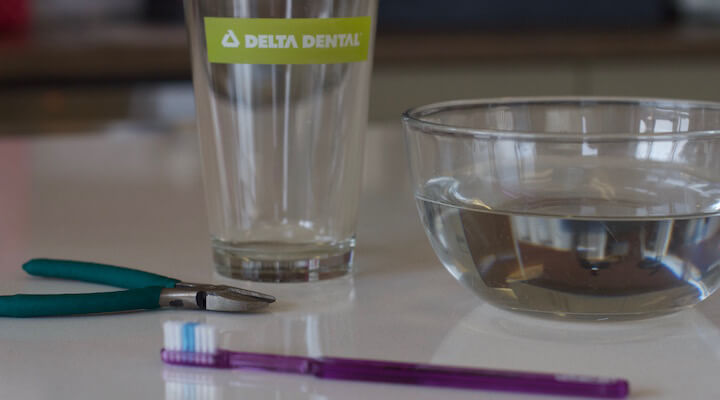
Step 1: Gather Materials
You’ll need a toothbrush, a set of pliers, a microwave-safe bowl and a glass.
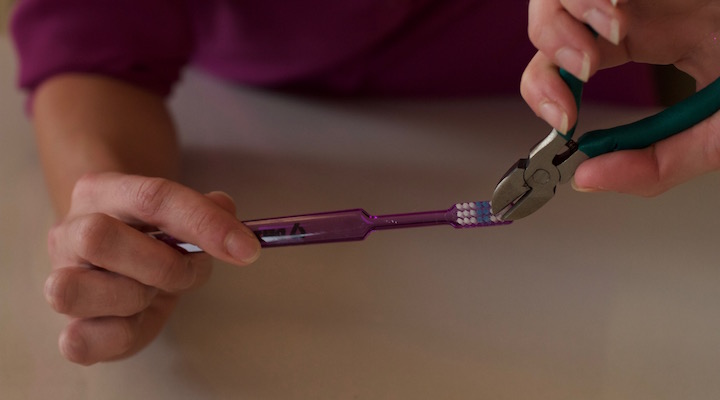
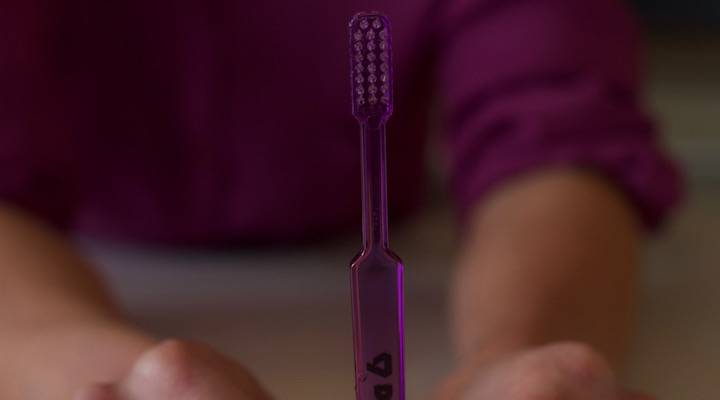
Step 2: Removal Bristles
Using pliers, take all of the bristles out of the toothbrush.
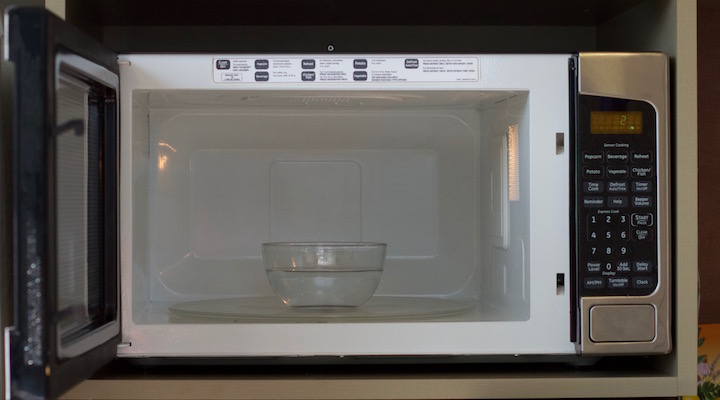
Step 3: Heat Up Water.
Heat up a bowl of water in the microwave until it begins to boil.
Pro Tip: Place a wooden popsicle stick in the bowl to prevent it from boiling over.
Step 4: Place Toothbrush in Water
Place the toothbrush in the boiling water, letting it sit for 5-10 minutes or until it becomes soft. Remove it safely with tongs.
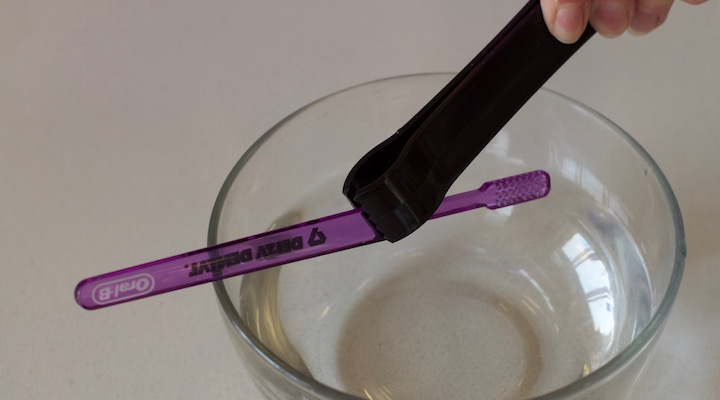
Step 5: Shape Bracelet
Using your glass, mold the toothbrush into desired size. Make sure it fits around your wrist.

Step 6: Enjoy!
Show of your new toothbrush bracelet! Post a photo of your creation to our Facebook page.